The BONE token is a governance token on the Shibaswap platform, where you can earn it while providing liquidity.

If you’re looking to transfer BONE tokens to your Metamask wallet, you will need to import BONE as a custom token.
Here’s what you need to know.
How to add BONE to Metamask on the Ethereum Network
Here are 4 steps to add BONE to Metamask on the Ethereum Network:
- Go to Metamask and ensure that you are using the Ethereum Network
- Select ‘Import Tokens’, and then ‘Import Custom Token’
- Copy the Ethereum contract from CoinMarketCap
- Double-check that BONE is detected and select ‘Add Custom Token’
And here is each step explained:
Go to Metamask and ensure that you are using the Ethereum Mainnet
The first thing you’ll need to do is to ensure that you are using the Ethereum Mainnet on Metamask.
This is the default network for all Metamask wallets.
Select ‘Import Tokens’, and then ‘Import Custom Token’
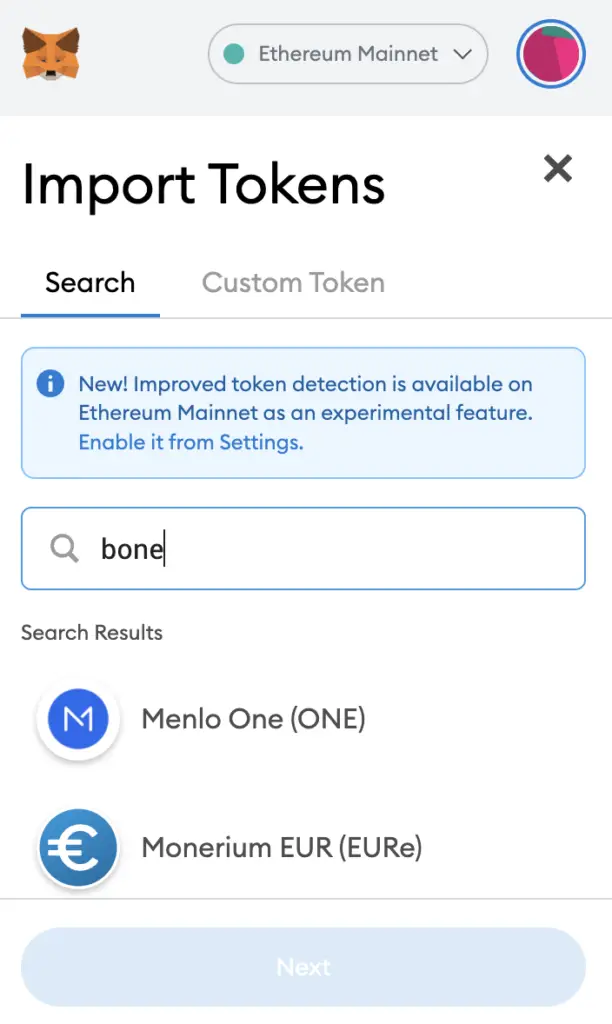
Once you’re on the Ethereum Mainnet, the next step will be to select ‘Import Tokens‘.
If you try to search for BONE using the Search function, you aren’t able to import it using this method.

Instead, you will need to go to the ‘Custom Token‘ section.
Copy the Ethereum contract from CoinMarketCap
For the next part, you can go to the BONE page on CoinMarketCap.
There is a section called ‘Contracts‘, where you’ll see the Ethereum contract for BONE
You can click on the contract and it will be copied to your clipboard.
Double-check that BONE is detected and select ‘Add Custom Token’
Once you’ve copied the Contract Address, you can paste it in the ‘Token Contract Address‘ field in Metamask.
If you pasted the correct contract address, BONE should automatically appear as the Token Symbol.
After selecting ‘Add Custom Token‘, you will need to confirm importing BONE one more time.
Once you’ve successfully imported BONE to your Metamask wallet, you should see it as one of your assets under the Ethereum Mainnet.
This will allow you to view any BONE that you’ve deposited via the ERC20 network!
Conclusion
BONE is an ERC20 native token, hence you can deposit BONE via the ERC20 network to your Metamask wallet.
This is similar to other tokens that are found on the Shibaswap platform, such as SHIB or LEASH.
Once you have completed the import of BONE, you can consider sending BONE tokens from another platform to Metamask.
After adding and receiving your tokens to your Metamask wallet, you can consider using decentralised exchange (DEX) aggregators, including:
Since both platforms are DeFi aggregators, they will ensure that you will get the best rates for any swaps that you make!
If you’re looking to generate tax reports for your crypto trades, you can consider using Koinly, which allows you to track your transactions from 350+ exchanges and 50+ crypto wallets.
👉🏻 Referral Deals
If you are interested in signing up for any of the products mentioned above, you can check them out below!
ZenGo Referral (Get $10 Cashback)
If you are looking for an alternative wallet to Metamask, one of the options you can consider is ZenGo. What’s more, you’d be able to receive $10 cashback, and here’s what you’ll need to do:
- Sign up for a ZenGo wallet using this link
- Enter the Referral Code ‘ZENX0B4G’ when you are entering your email
- Purchase $200 worth of crypto via MoonPay in the ZenGo app
Once this is done, you will receive $10 cashback in BTC.

Do you like the content on this blog?
To receive the latest updates from my blog and personal finance in general, you can follow me on my Telegram channels (Personal Finance or Crypto) and Facebook.
Are you passionate about personal finance and want to earn some flexible income?


