Last updated on February 26th, 2022
After buying ZIL on Coinhako, you may be looking to transfer it to Moonlet and stake your ZIL.
Here’s how you can transfer your funds from Coinhako to Moonlet:
Contents
How to transfer from Coinhako to Moonlet
Here are 7 steps that you’ll need to transfer your crypto from Coinhako to Moonlet:
- Select the cryptocurrency on the Moonlet dashboard
- Select ‘Receive’ on the cryptocurrency’s page
- Copy the wallet address that is shown
- Go to ‘Wallet’ on Coinhako and select the currency to send
- Enter the withdrawal details on Coinhako
- Confirm the withdrawal with your 2FA
- Receive the currency on Moonlet
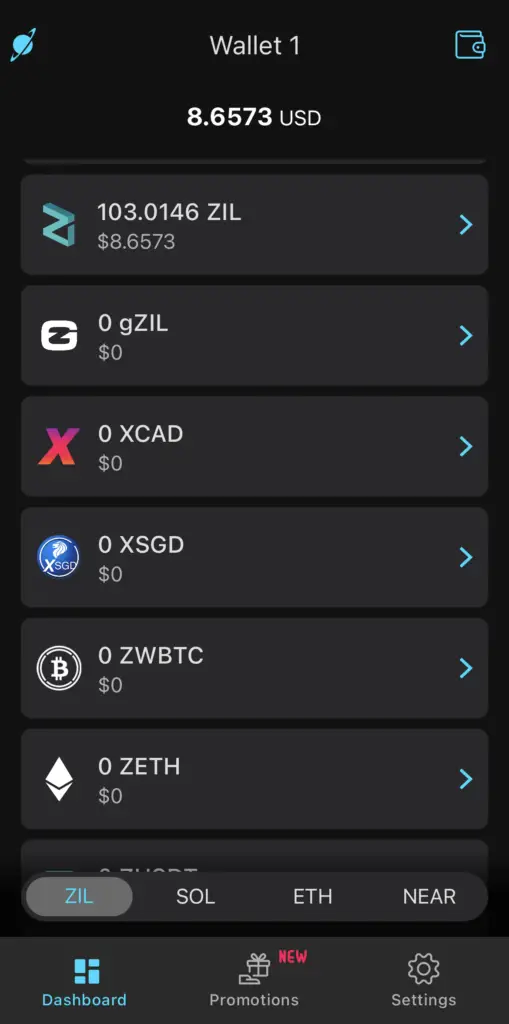
Select the cryptocurrency on the Moonlet dashboard
First, you will need to go to the ‘Dashboard‘ tab on Moonlet, and select the cryptocurrency of your choice.
In this example, I will be sending ZIL to my Moonlet wallet.
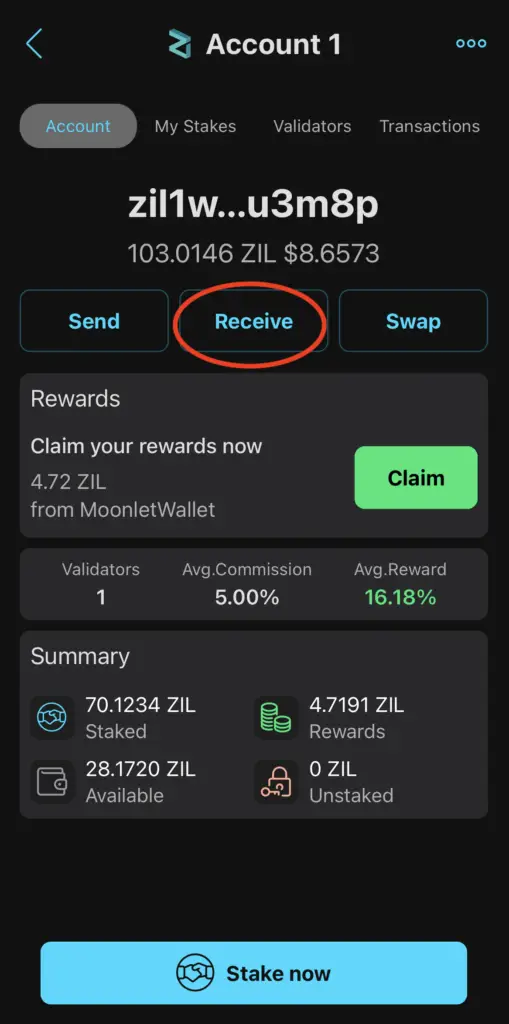
Select ‘Receive’ on the cryptocurrency’s page
Once you’re on the currency’s page, you will need to select ‘Receive‘.
Copy the wallet address that is shown
This will show you the address that you’ll need to use to deposit your funds to.
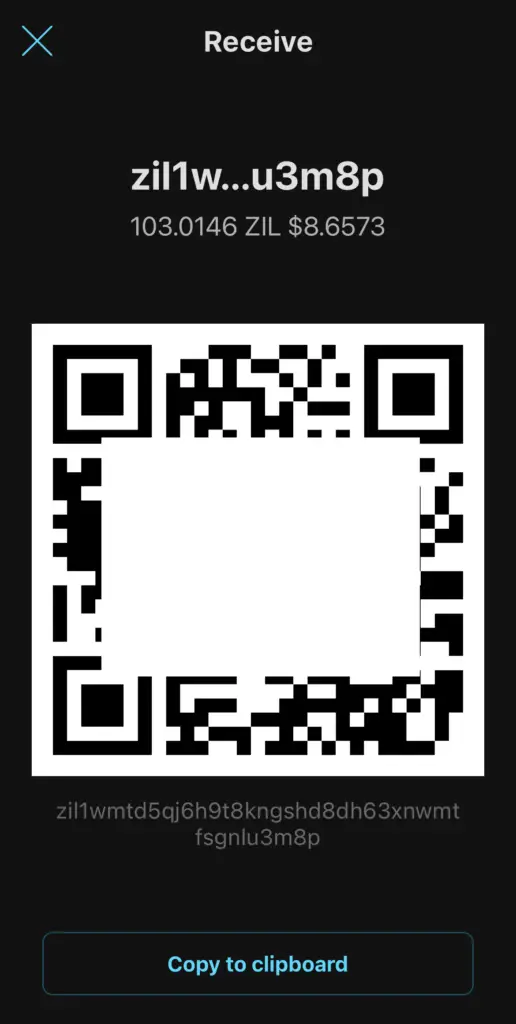
There are 2 important things that you’ll need to take note of:
- The wallet address you’re depositing to has to be in the same currency as the one that you’re withdrawing from
- The deposit address has to be copied letter for letter
It is very important that you ensure that both of these steps are followed carefully.
Otherwise, you may lose your crypto forever!
If you are finding it hard to remember all of these long deposit addresses, you may want to consider simplifying them using Unstoppable Domains.
This allows you to send crypto to a .crypto or .wallet address, which makes it much easier to transfer cryptocurrencies between platforms!
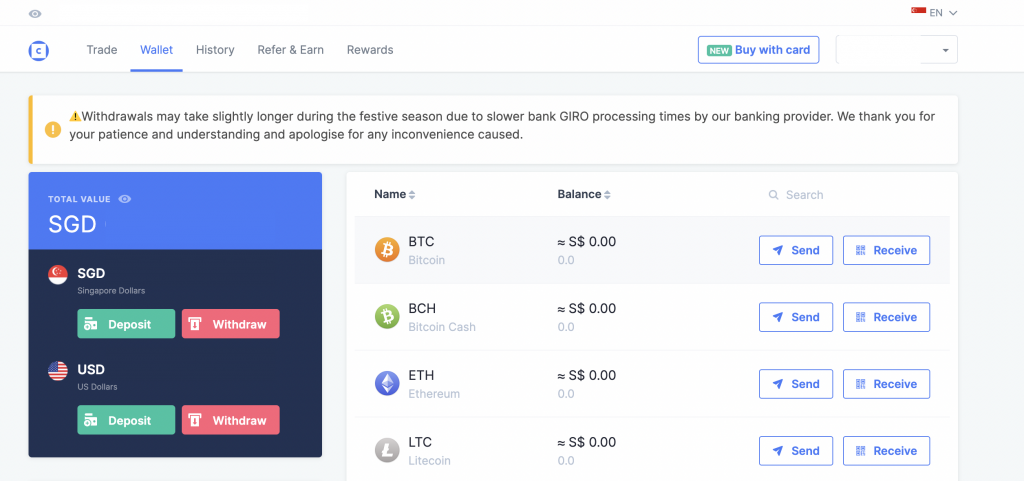
Go to ‘Wallet’ on Coinhako and select the currency to send
Once you’ve obtained the address to send to, you’ll need to go to Coinhako to start sending your funds.
You’ll need to go to ‘Wallet‘, and then select the currency that you wish to withdraw.
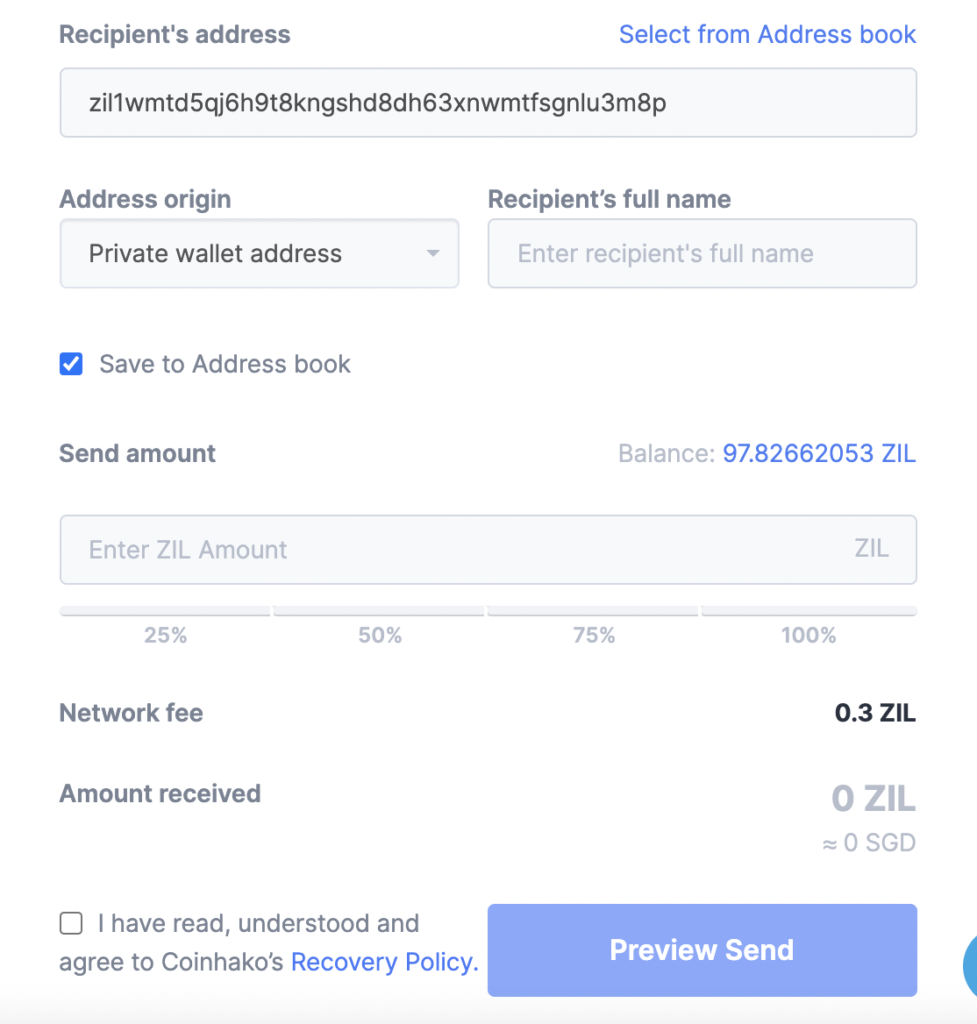
Enter the withdrawal details on Coinhako
After selecting the currency you wish to withdraw, you’ll need to enter the withdrawal details on Coinhako.
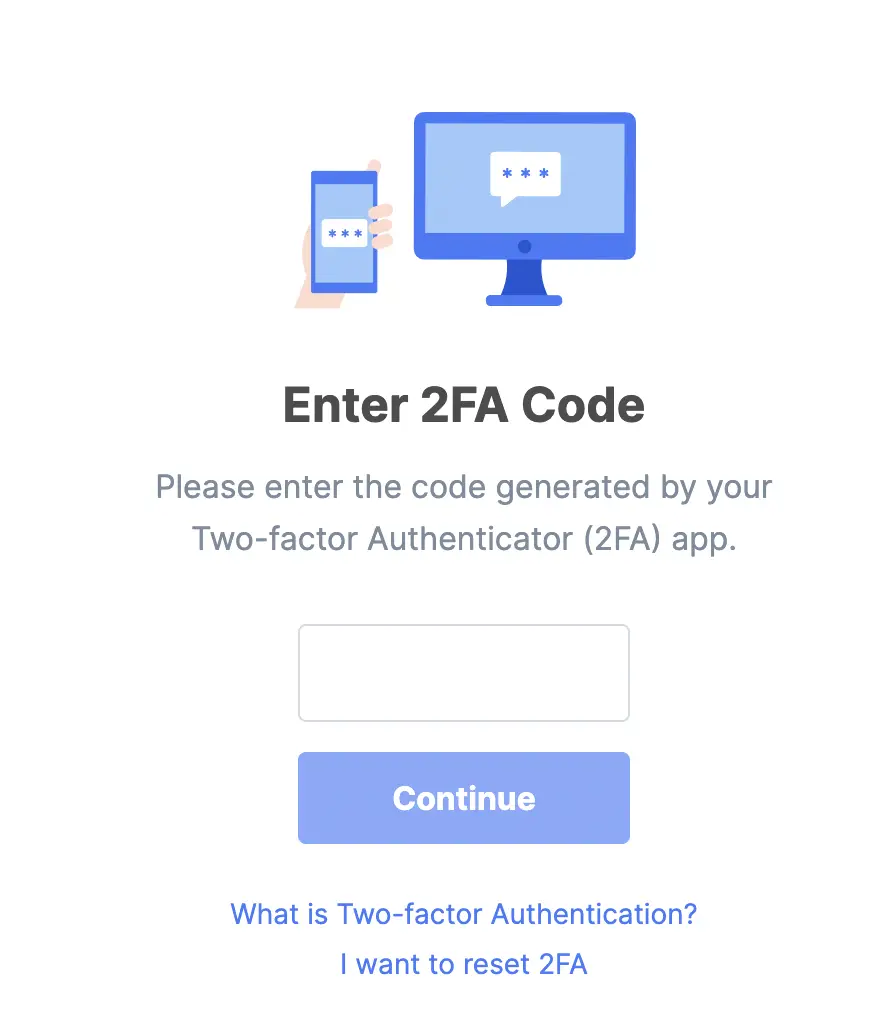
Confirm the withdrawal with your 2FA
After requesting your withdrawal, you’ll need to authenticate your withdrawal with a code from your 2FA app.
Receive the currency on Moonlet
Once the withdrawal has been confirmed, you are able to receive the cryptocurrency on Moonlet.
This may take a while, depending on the congestion of the network.
Which cryptocurrencies can I send from Coinhako to Moonlet?
While Coinhako allows you to send 23 different currencies, not all of them are supported by Moonlet.
Here are some cryptocurrencies that you can send from Coinhako to Moonlet:
- ZIL
- ETH
- GRT
- LINK
This is because Moonlet supports the ZIL, SOL and ETH networks. The other 3 currencies (apart from ZIL) are on the ETH network.
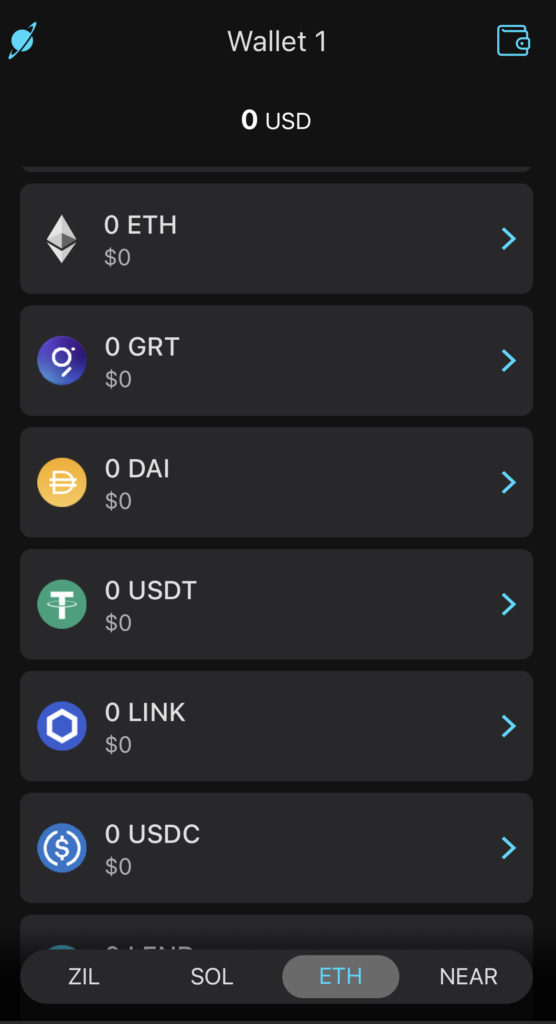
However, even though both Coinhako and Moonlet support SOL, you can’t send SOL from Coinhako since it is a Trade-Only token.
What are the fees that Coinhako charges for sending to Moonlet?
Here are the withdrawal fees that Coinhako charges for the 4 currencies that you can send to Moonlet:
| Currency | Withdrawal Fees |
|---|---|
| ZIL | 0.3 ZIL |
| ETH | 0.008 ETH |
| GRT | 4 GRT |
| LINK | 0.5 LINK |
The fees for the 3 currencies on the ETH network (ETH, GRT and LINK) can be quite high. However, the fees for ZIL are rather low!
As such, Moonlet will be the most suitable wallet if you are intending to stake ZIL.
Conclusion
Moonlet allows you to send both ZIL and ETH network tokens from Coinhako to its wallet.
This is similar to how you would send ZIL from Binance to Moonlet.
You are unable to send SOL from Coinhako to Moonlet since SOL is a ‘Trade-Only‘ token on Coinhako!
The most optimal use of Moonlet will be to send ZIL that you’ve bought from Coinhako. This allows you to stake ZIL to earn even more ZIL!

Do you like the content on this blog?
To receive the latest updates from my blog and personal finance in general, you can follow me on my Telegram channels (Personal Finance or Crypto) and Facebook.
Are you passionate about personal finance and want to earn some flexible income?

